
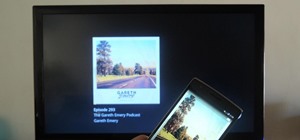
For some odd reason, the Netflix app likes to disable the Nexus Player's built-in screensaver. It doesn't use its own, it simply keeps your screen on indefinitely, which of course can lead to screen burn-in. This is not just an Android TV issue, as the Netflix app does the same thing on Roku and smart TVs.
But unlike other set-top players, this issue can be remedied on the Nexus Player. With a little help from Android's foremost automation app Tasker, you can set up a profile that will always turn your screensaver on after a preset period of time.
Requirements
Step 1: Install Tasker
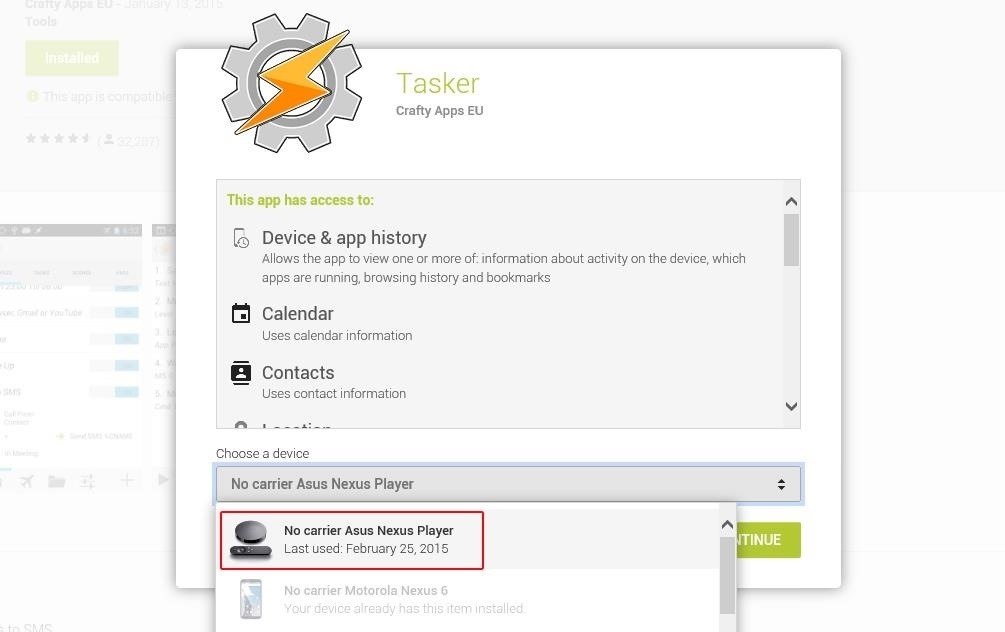
The main app we'll be using today is called Tasker, which is a paid app ($2.99). If you don't already own Tasker, you can sideload a 7-day free trial with this APK. As a side note, Tasker is one of those rare apps that can be installed on the Nexus Player through the web version of the Play Store. Just make sure to select your Nexus Player before clicking the "Install" button.
Step 2: Enable Tasker's Accessibility Plugin
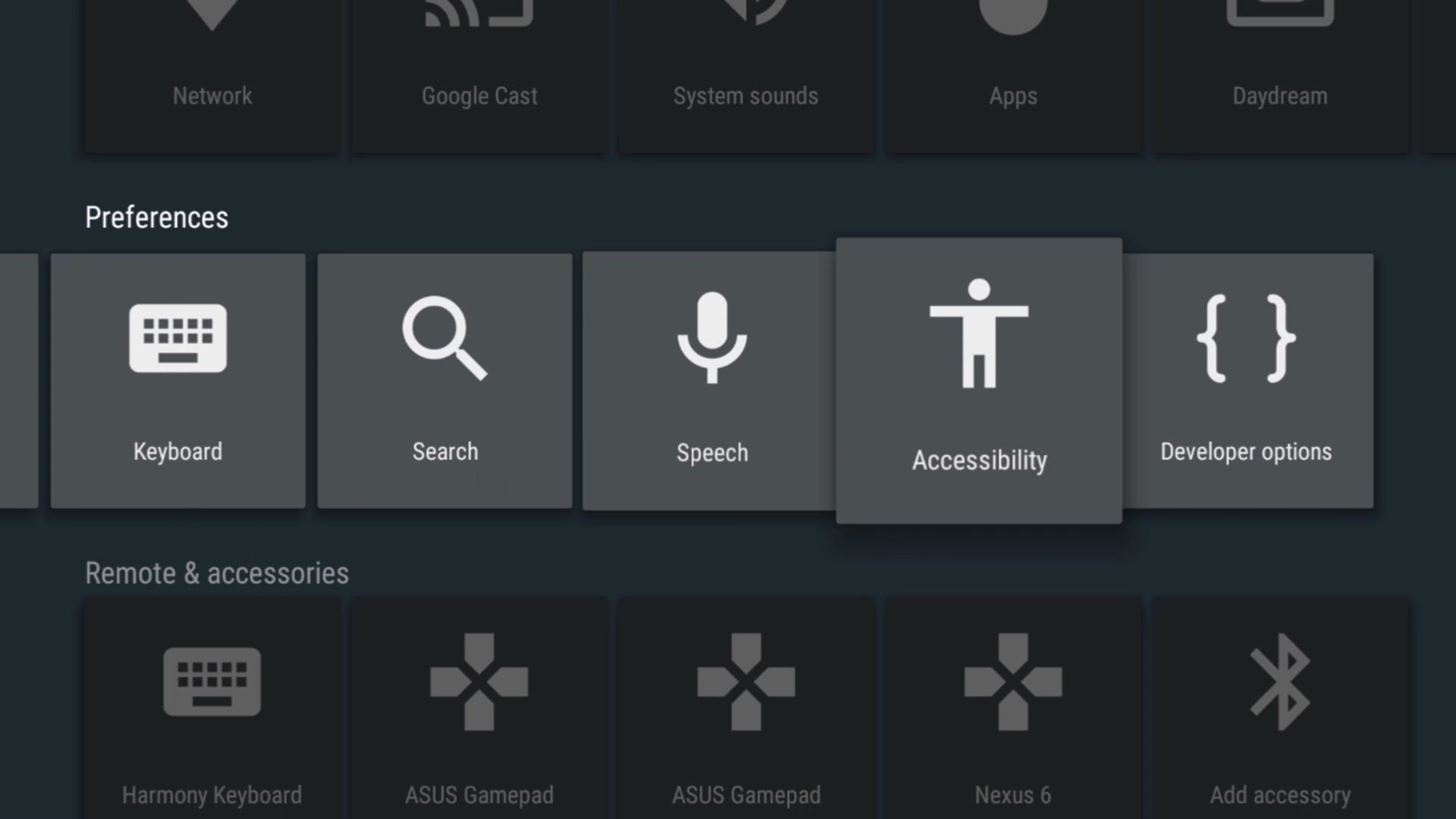
With Tasker installed, take a quick trip to your Nexus Player's main settings menu. From here, select the "Accessibility" option.
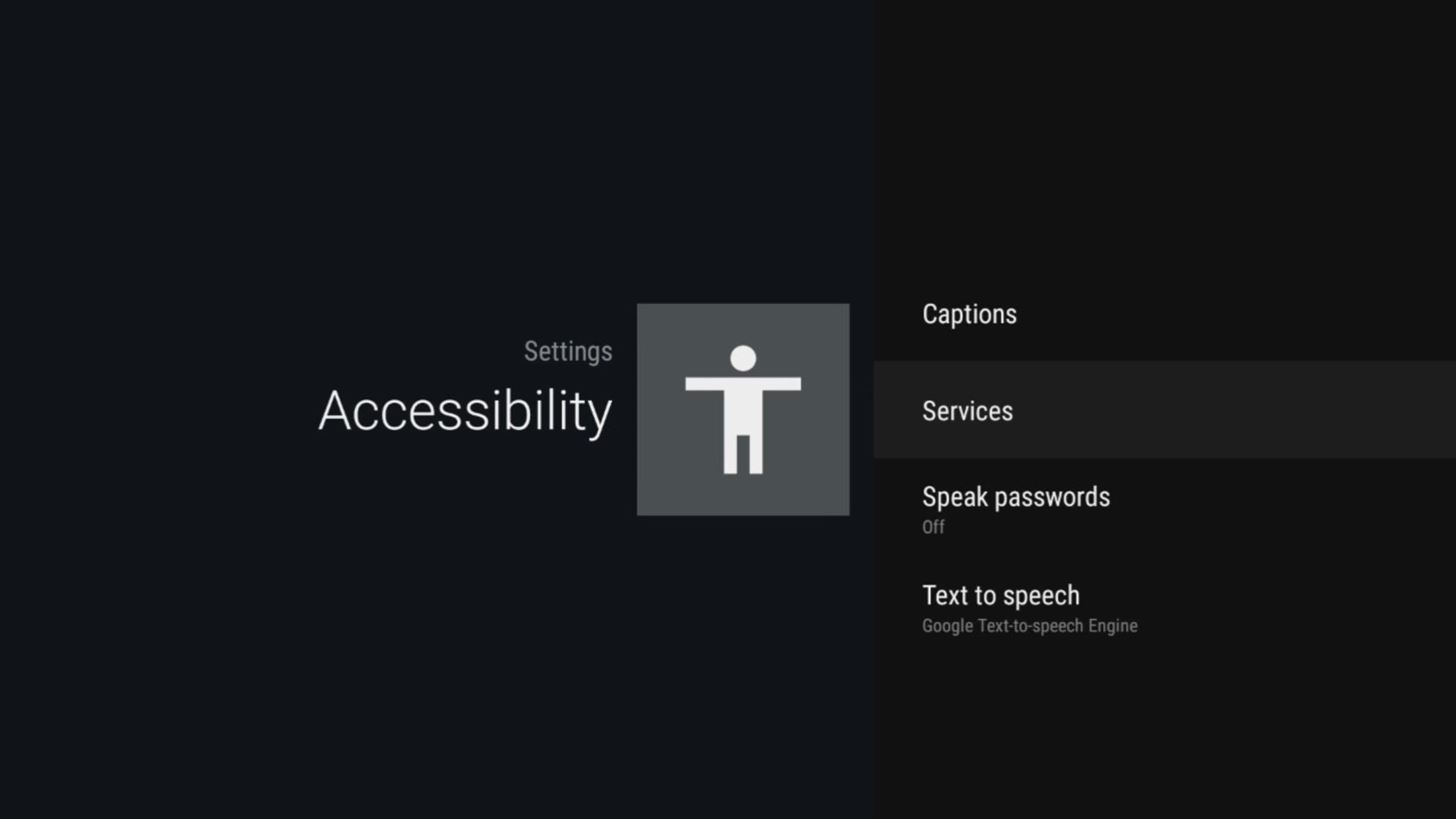
Next, arrow down and select the "Services" entry.
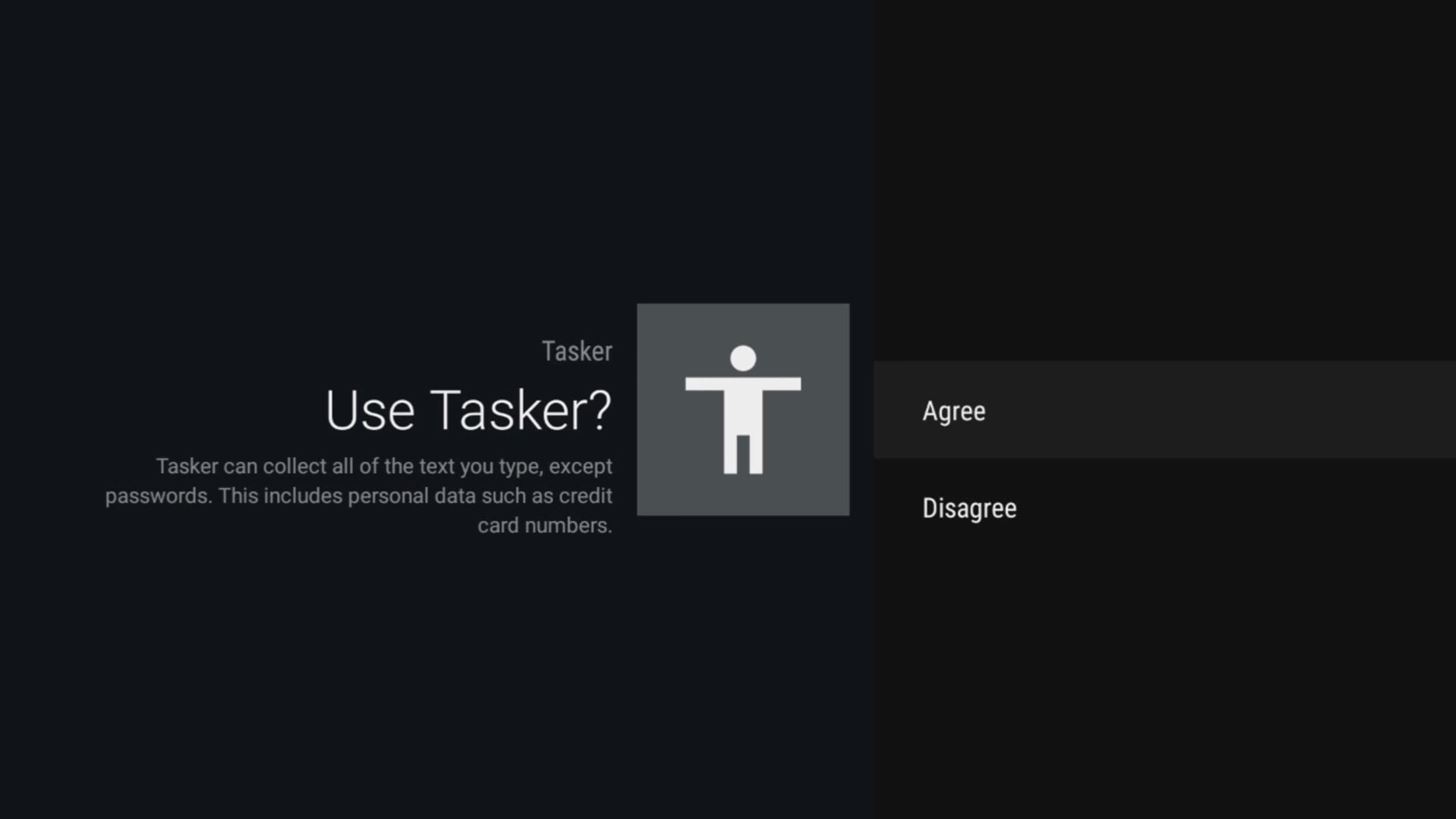
Choose Tasker from the list, then select the "On" option and click "Agree" to enable the app's Accessibility plugin.
Step 3: Create a Global Variable in Tasker
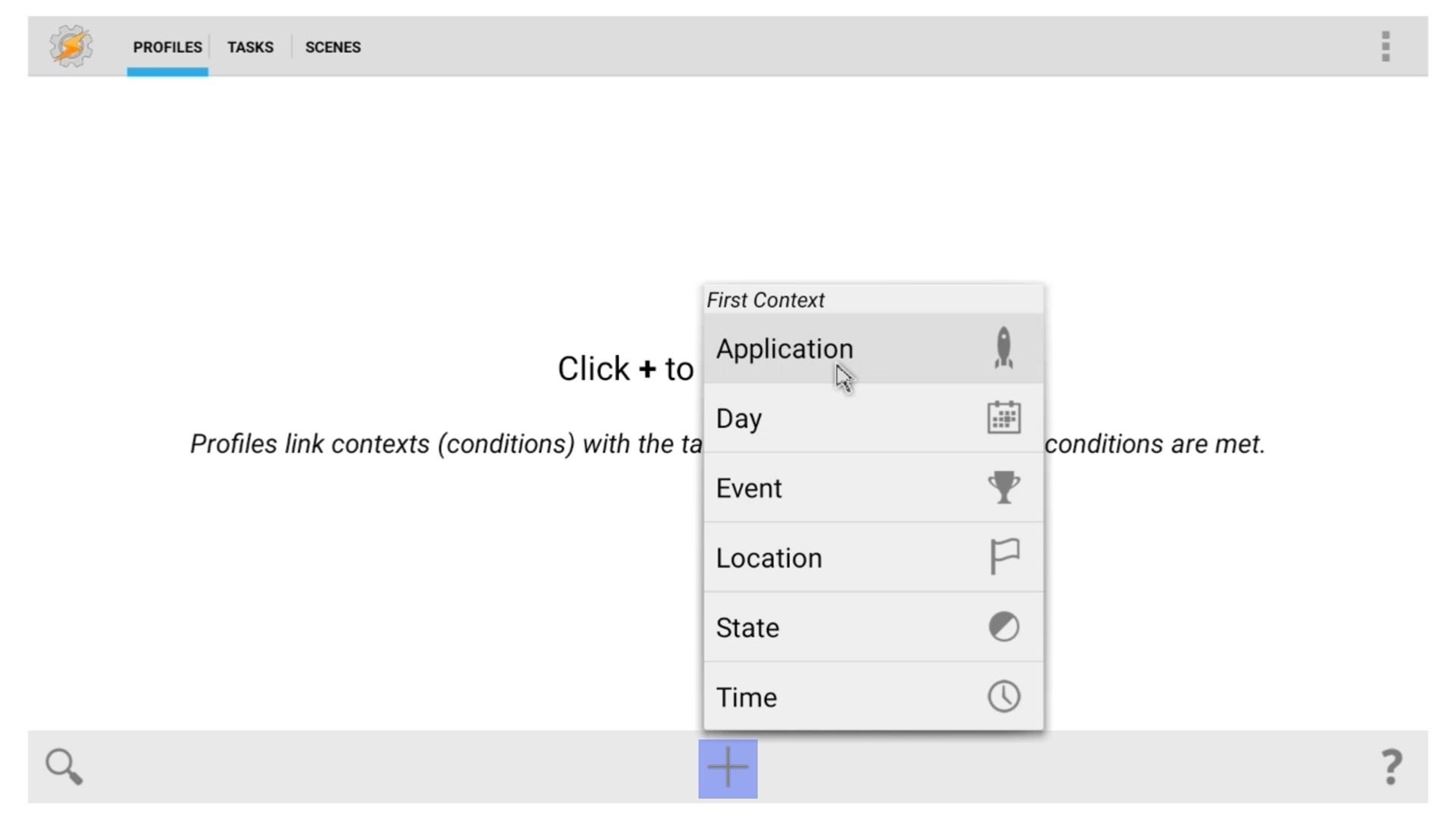
Next, go ahead and open Tasker and click the + button from the Profiles tab. From here, select "Application."
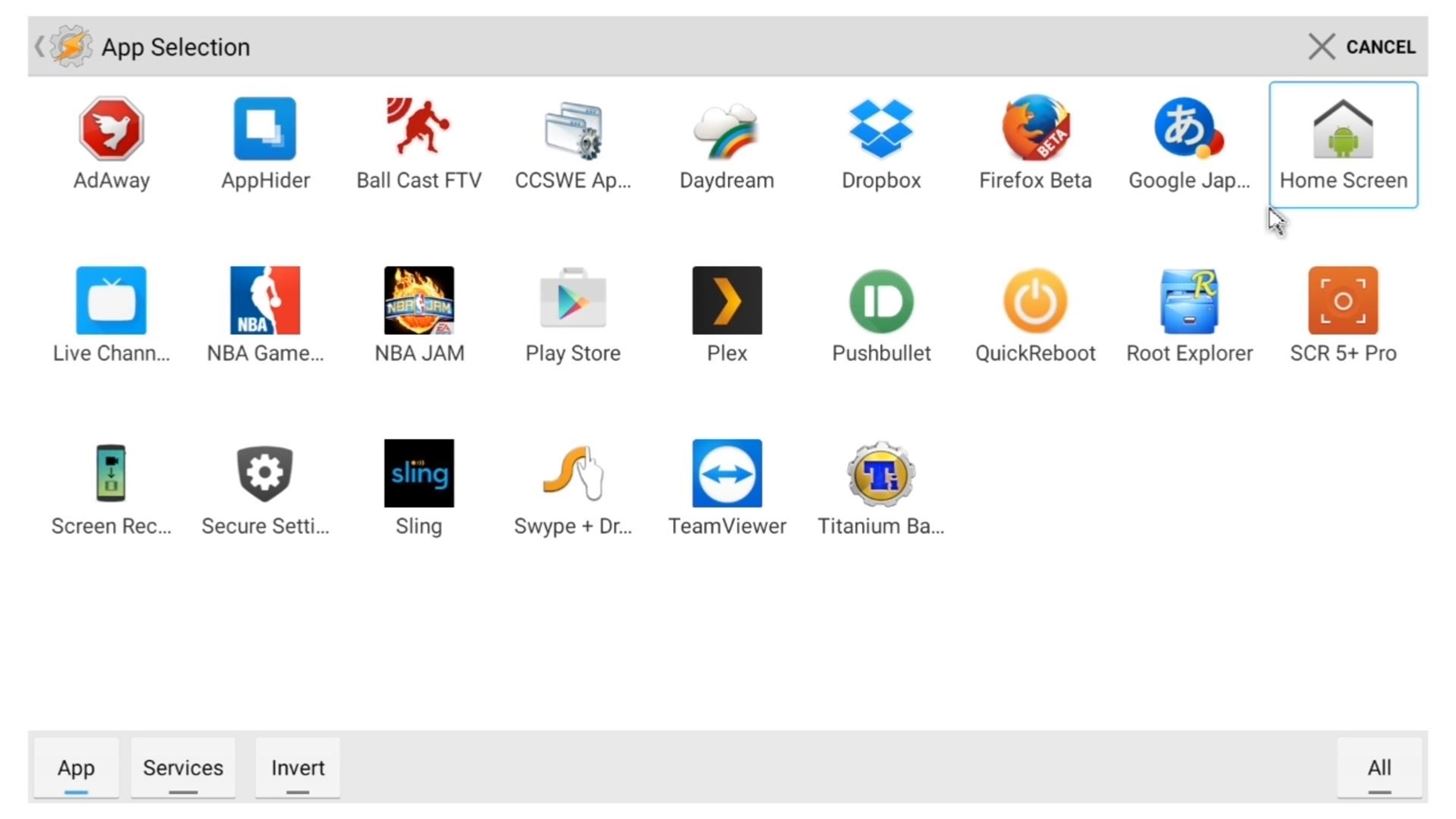
On the menu that comes up next, select the "Home Screen" entry, then press your remote's back button one time.
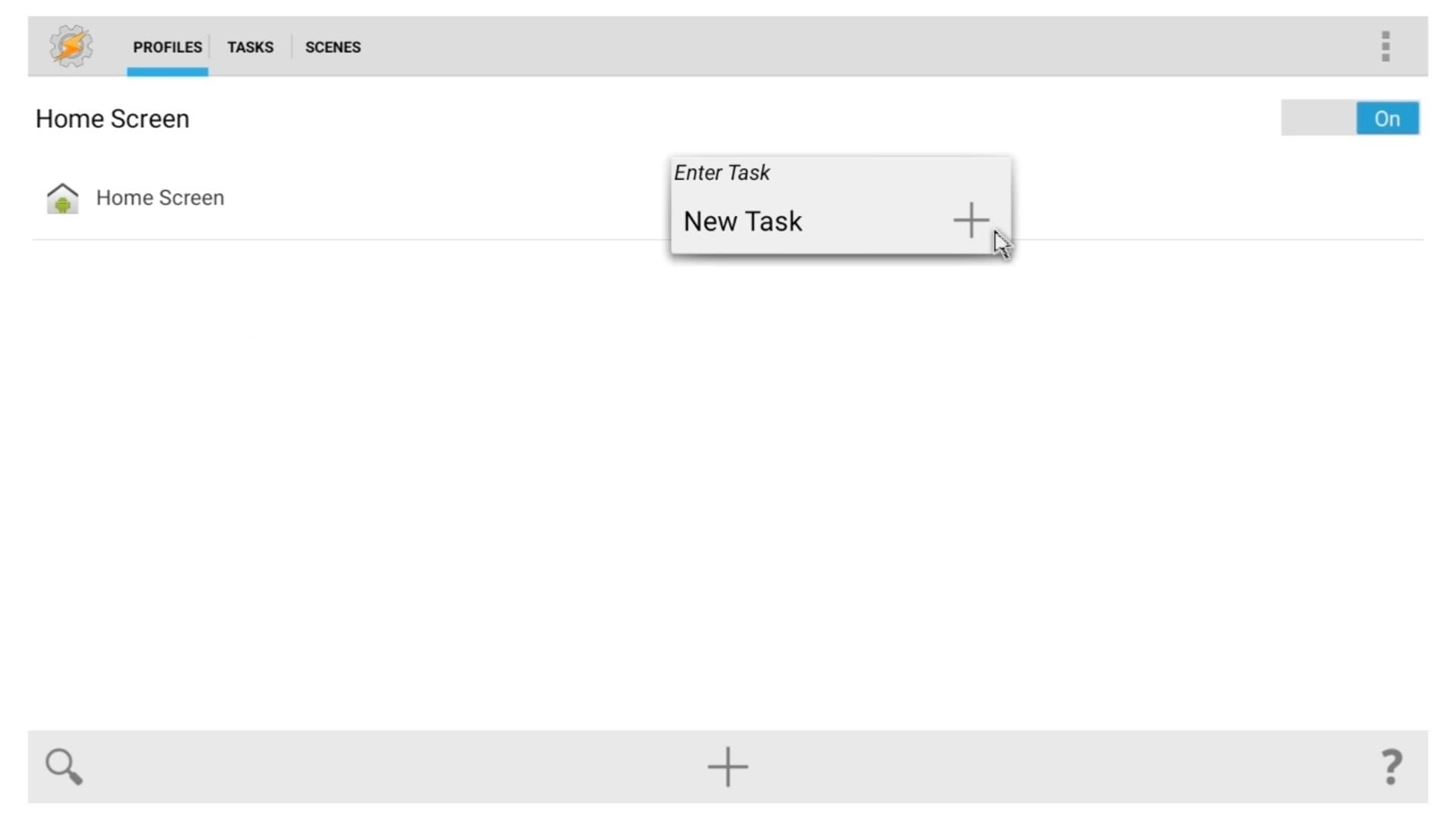
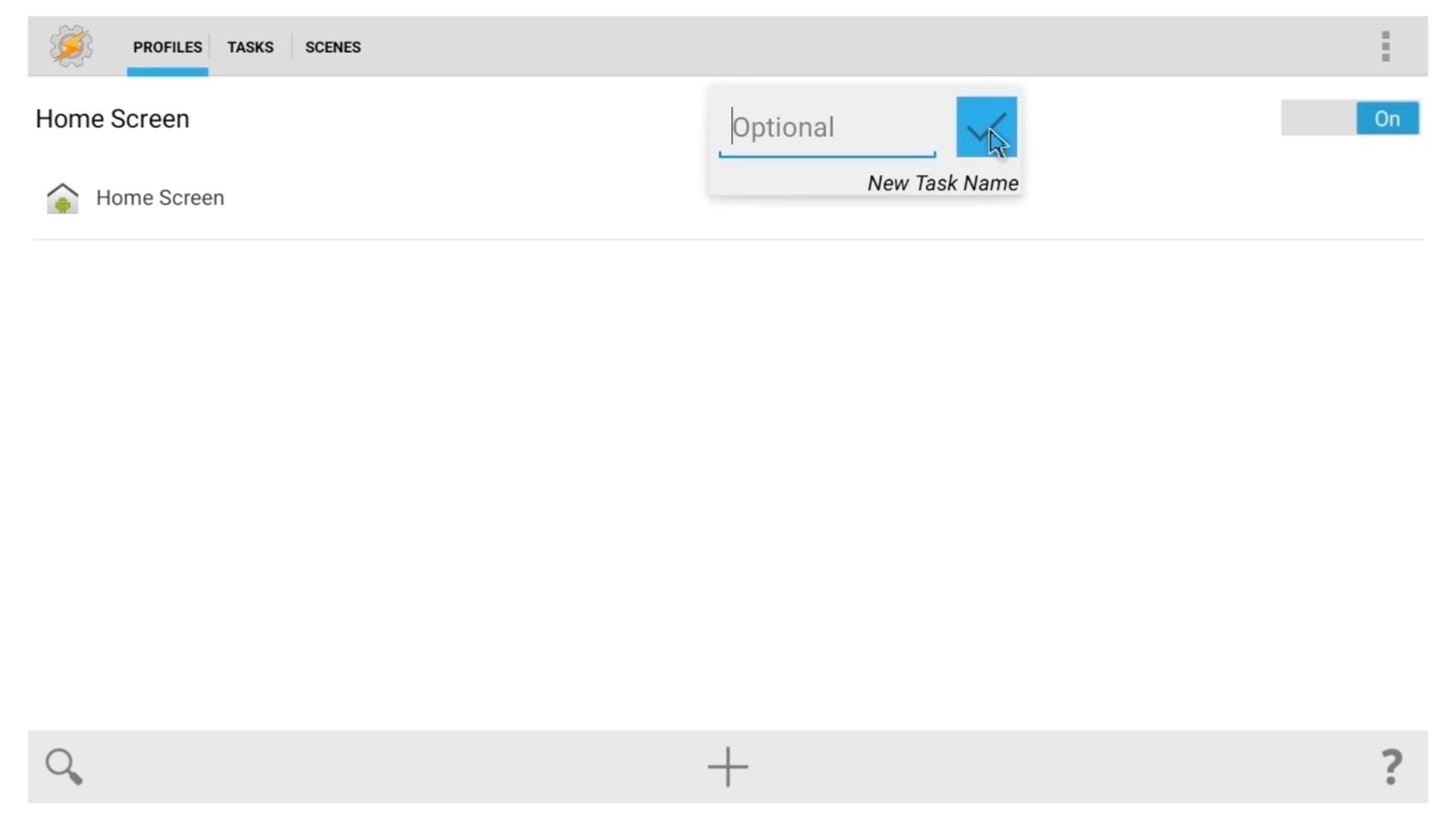
At this point, you'll be prompted to associate a task with the profile you've just created. Click the "New Task" button to begin.
From here, Tasker will ask you to name this new task, but this is optional. Just make sure to click the checkmark icon when you're done.
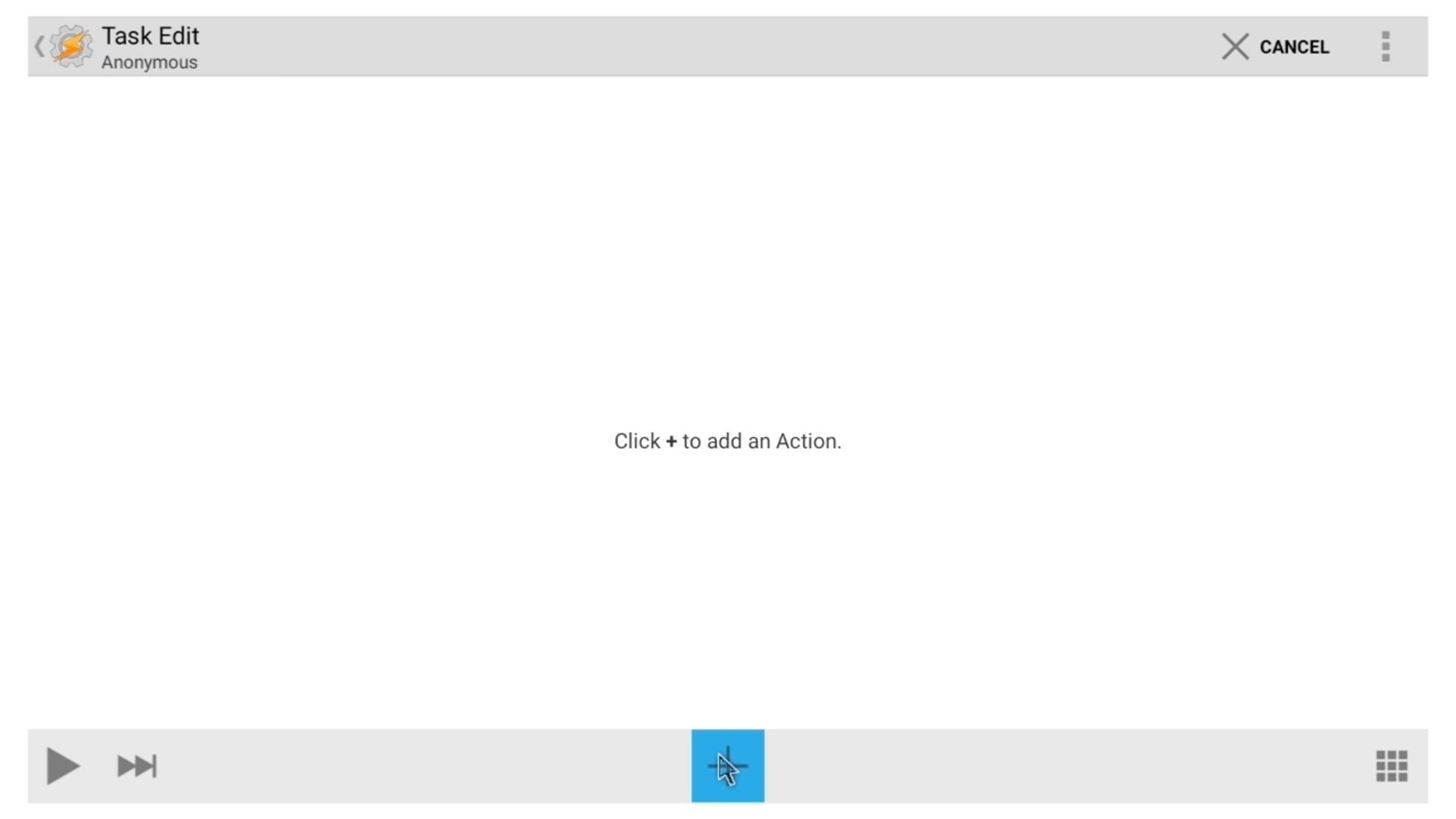
Next, click the + button at the bottom of the screen to add a new action to your task.
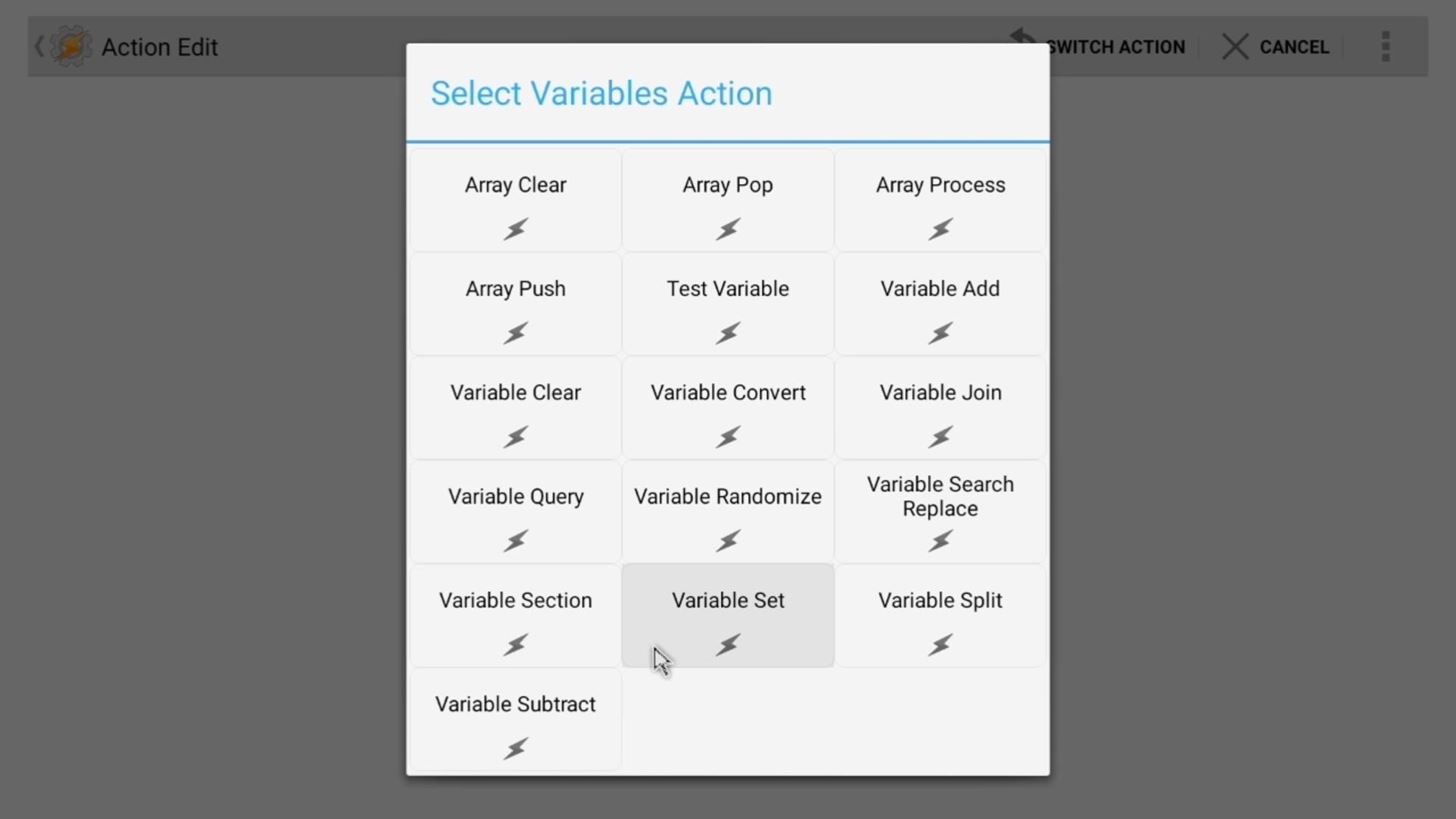
From here, choose "Variables," then "Variable Set."

We're basically trying to establish a variable that will be set to one value when you're on your home screen, then change to a different value when you leave your home screen. This will effectively serve as a starting point for a future profile that waits until you've left your home screen to start a timer and ultimately launch the screensaver.
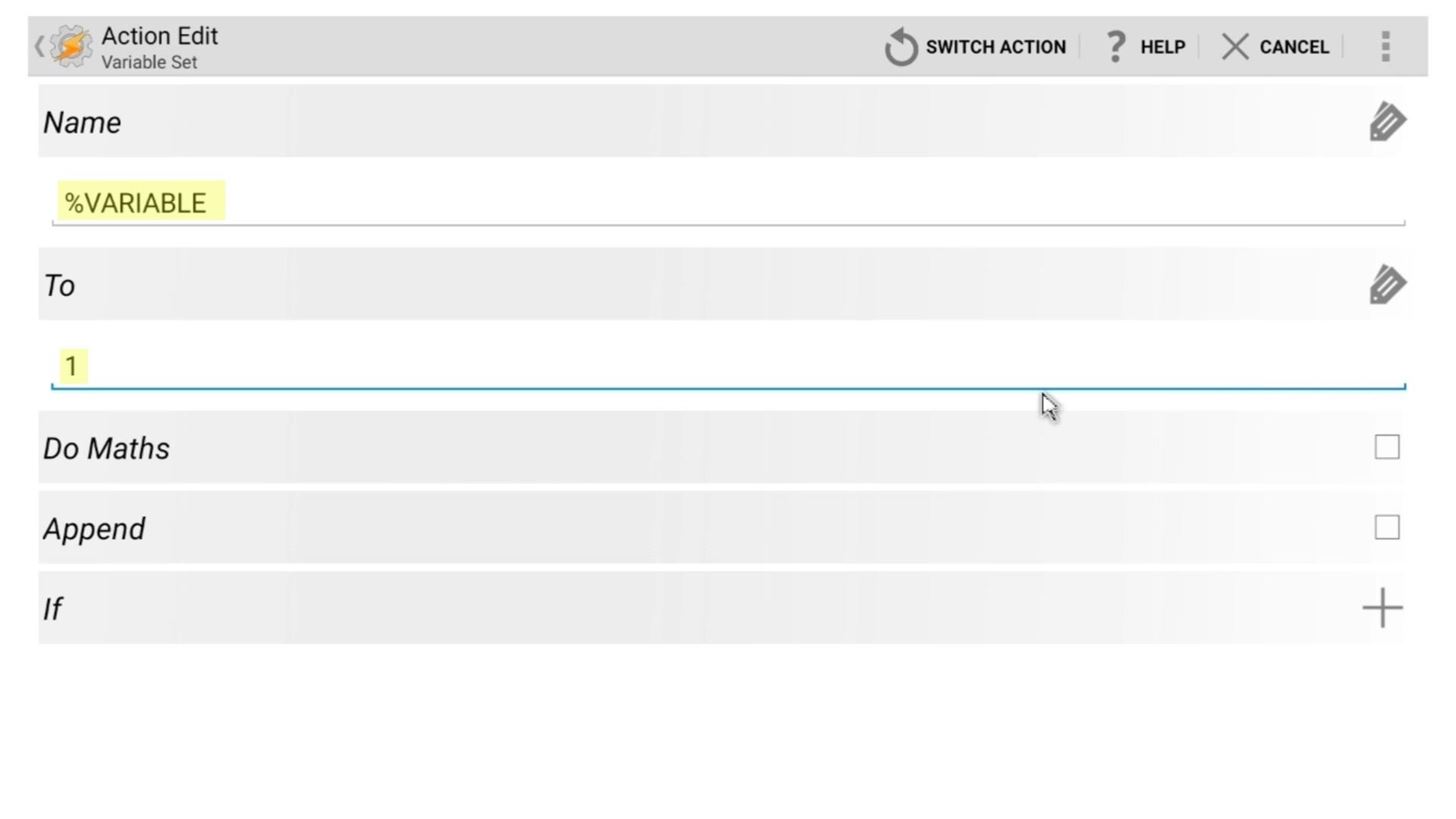
But the variable's name and value are both arbitrary, since they only need to be established and the details don't really matter. So name this variable anything you want, but as an example, I went with VARIABLE. Make sure to type this name in all caps, then head to the "Value" field and enter the number 1. In the end, the action should look something like this:
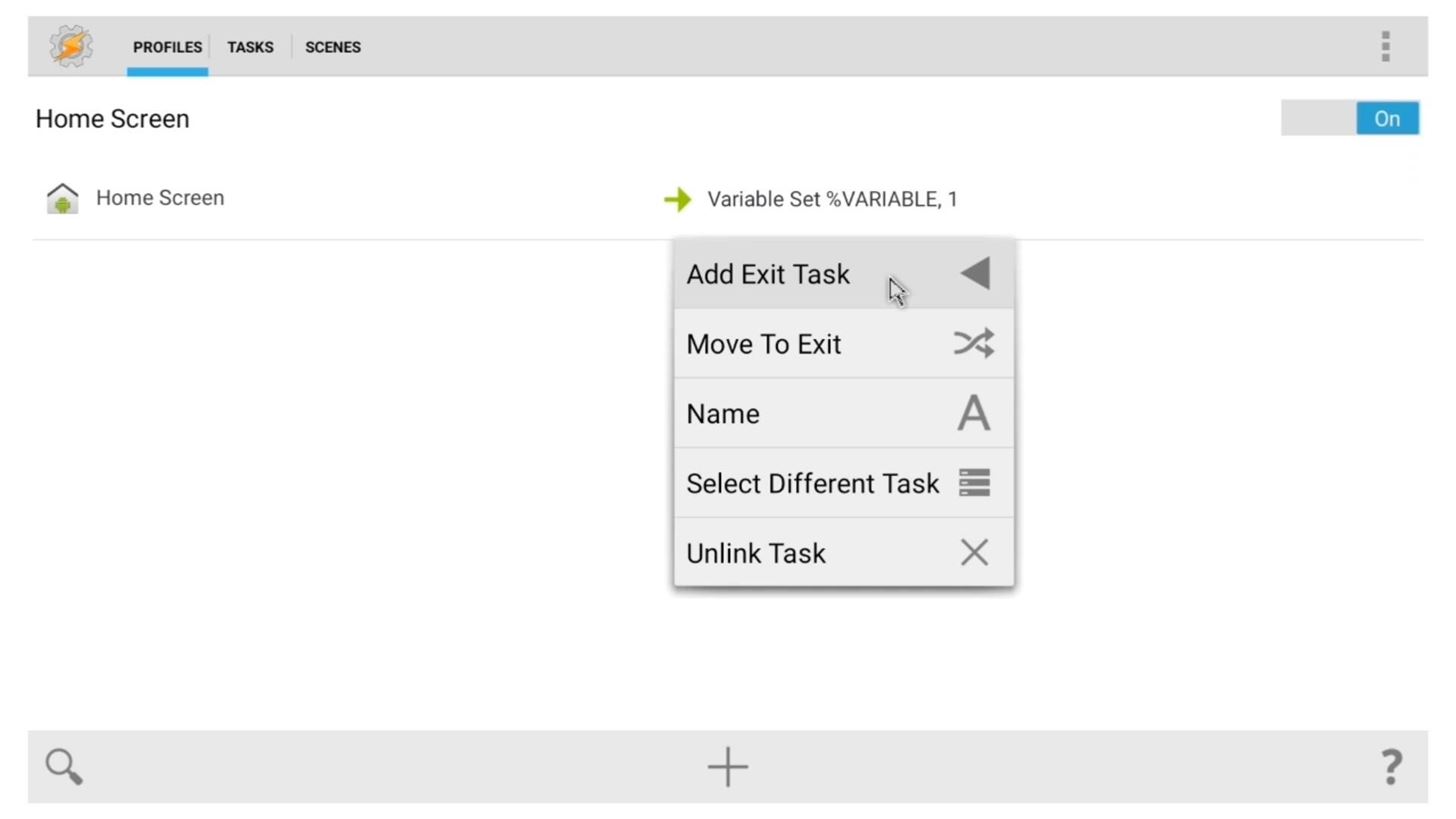
After that, hit the back button twice to head out to the Profiles tab again. From here, long press the "Variable Set" portion of your profile, then select "Add Exit Task."
Again, you can name this task if you want to, but be sure to click the checkmark icon when you're done.
Next, click the + button at the bottom of the screen again, then go to "Variables" and "Variable Set" one more time.
From here, enter the same variable name that you created earlier (VARIABLE, in this example), but this time set the value to 0.

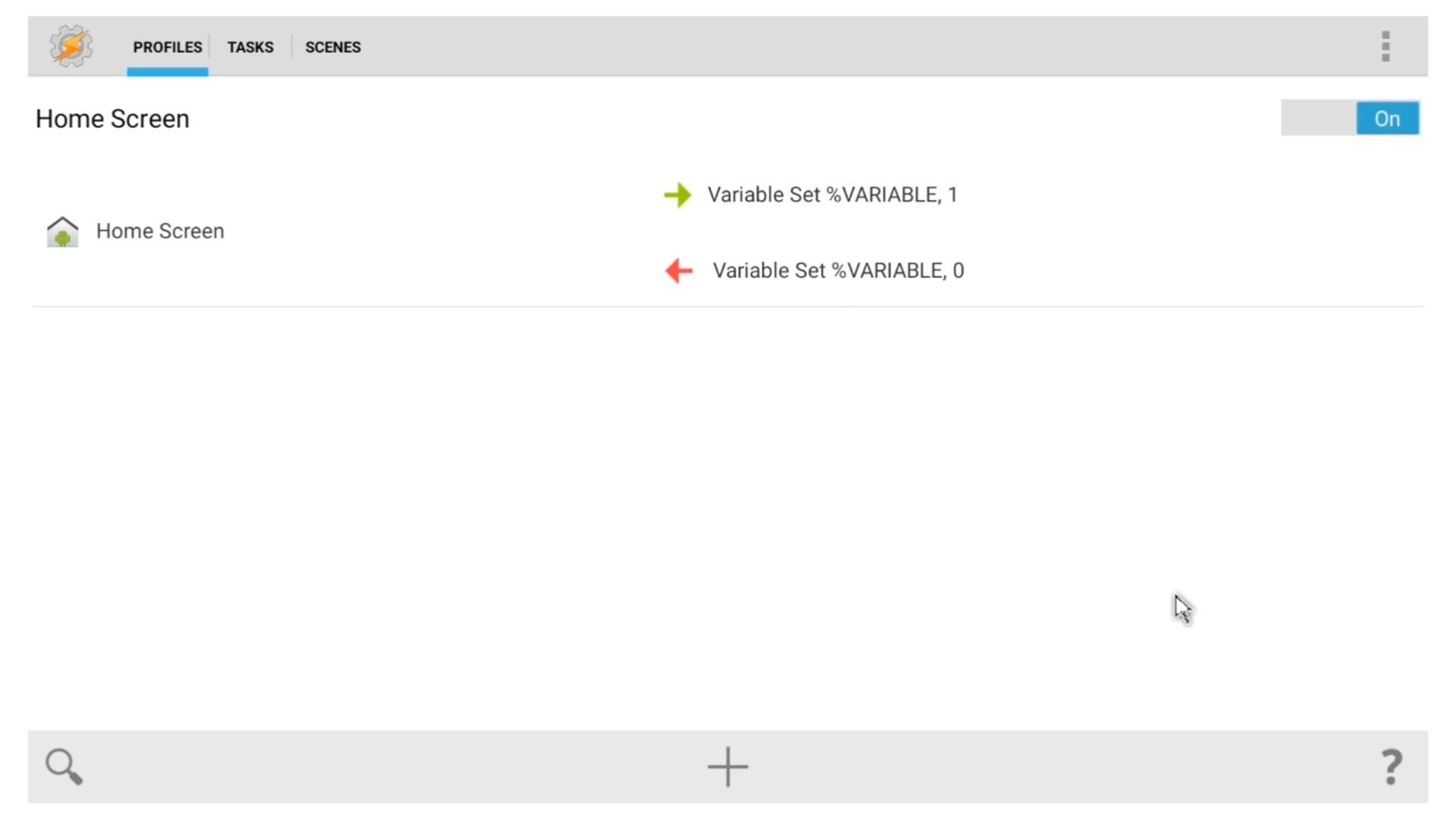
After that, hit the back button twice, and your Profiles tab should look like this now:
Step 4: Create a Screensaver Profile
With the variable established, Tasker now knows when you've left your home screen, because the value will be set to 0 when that happens. This is key, because the screensaver already works on the home screen—it's just those times that you leave the home screen and enter an app that we need to worry about.
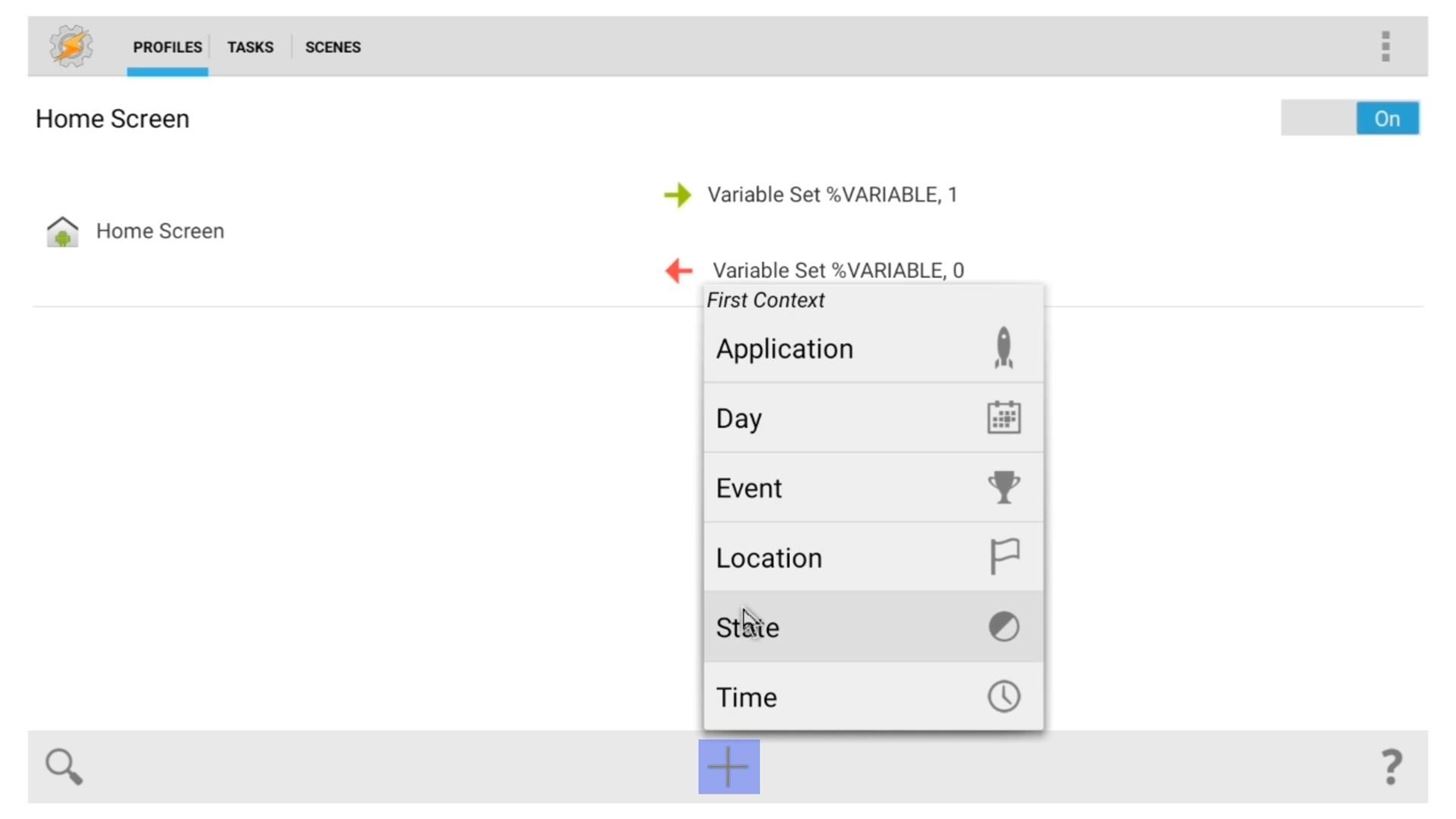
So to start with your actual screensaver profile, click the + icon at the bottom of the screen again. This time, however, select "State."
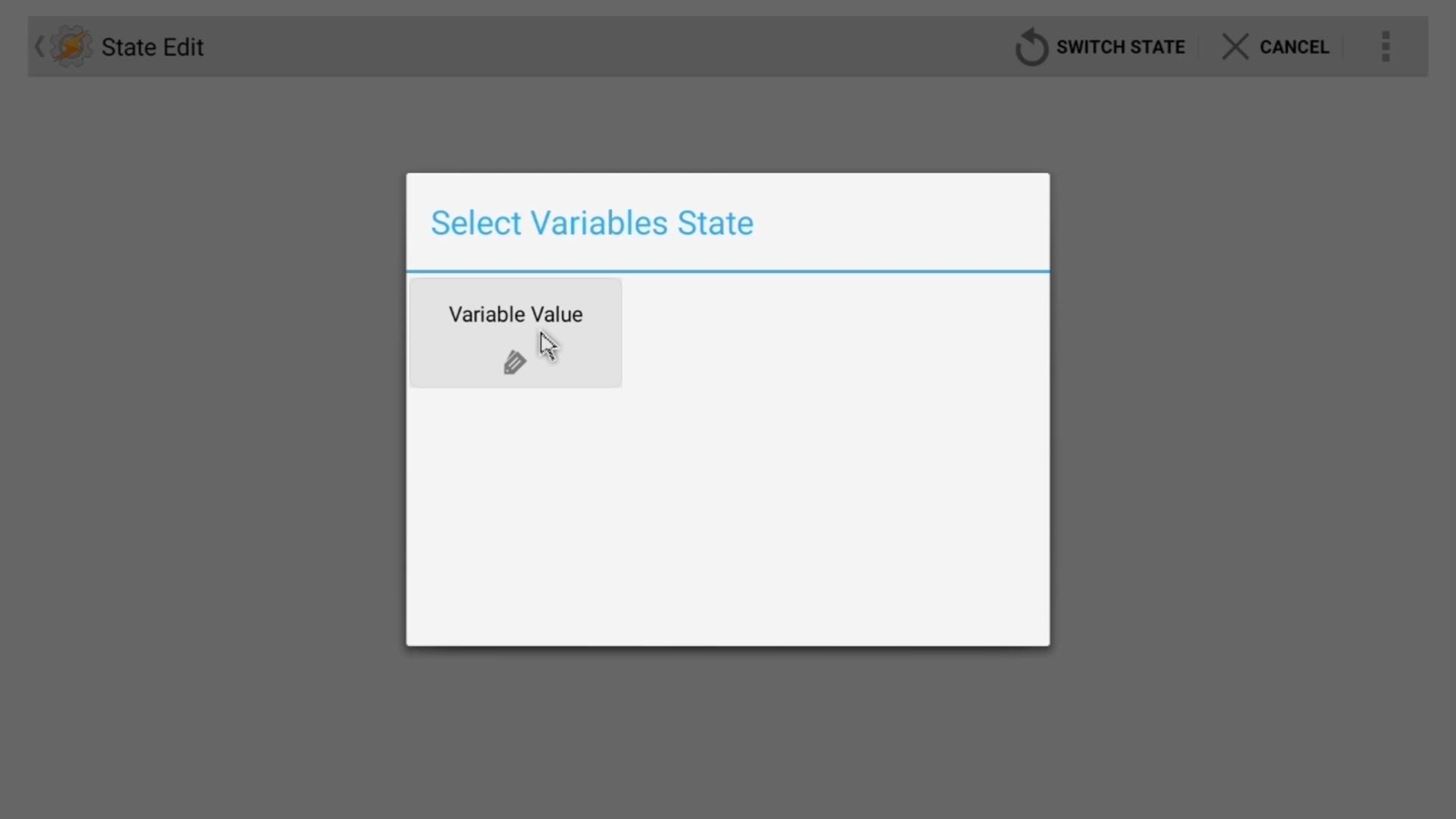
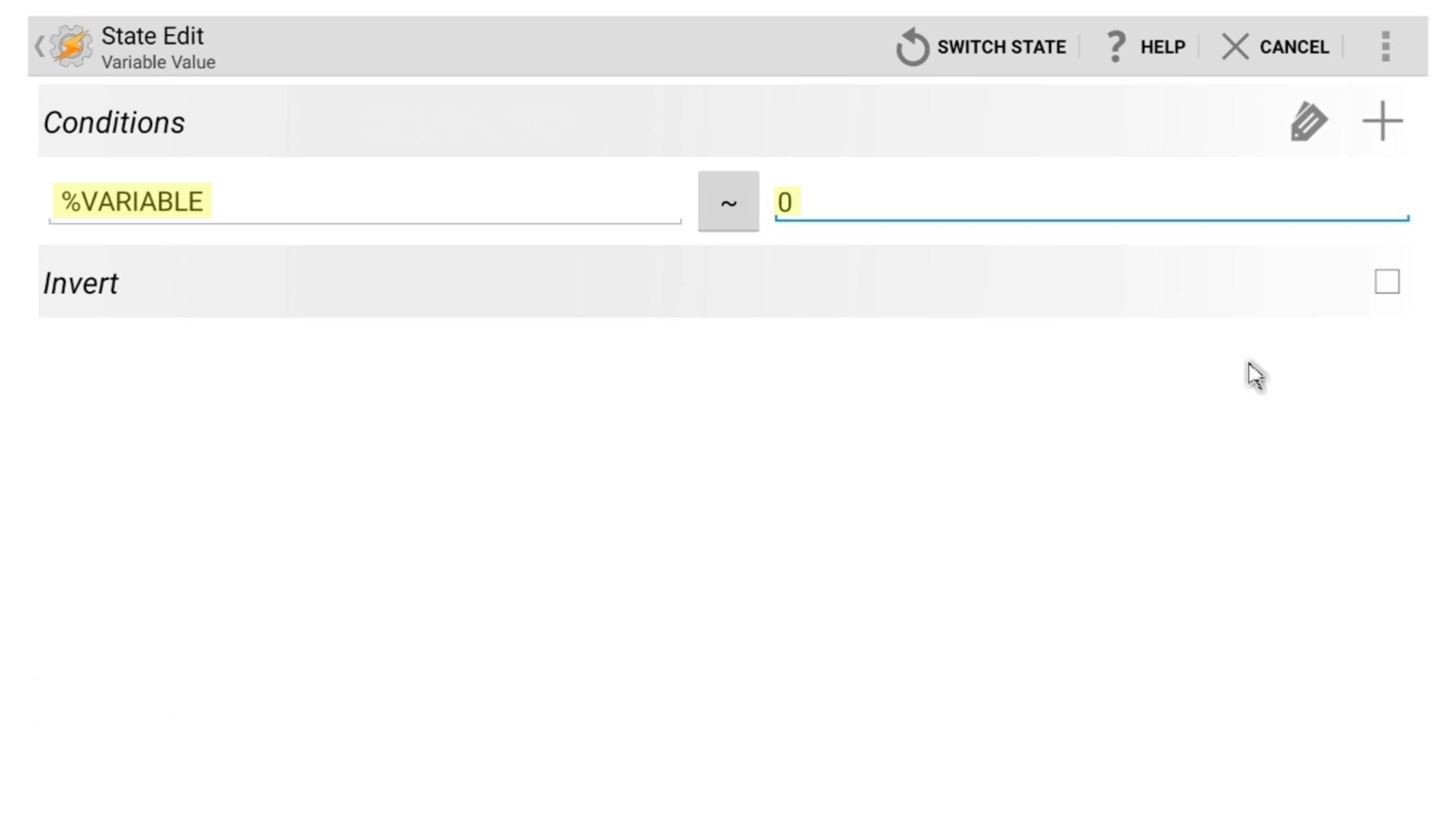
From here, choose "Variables," then "Variable Value."
On the next screen, enter your variable's name again (VARIABLE, in this example). Then, since we want our screensaver profile to become active only when we've left the home screen, enter 0 as the value here.
Next, click the back button once, and you'll be prompted to associate a task with this new profile. So click "New Task," and again, name it if you want, but click the checkmark icon when you're done.

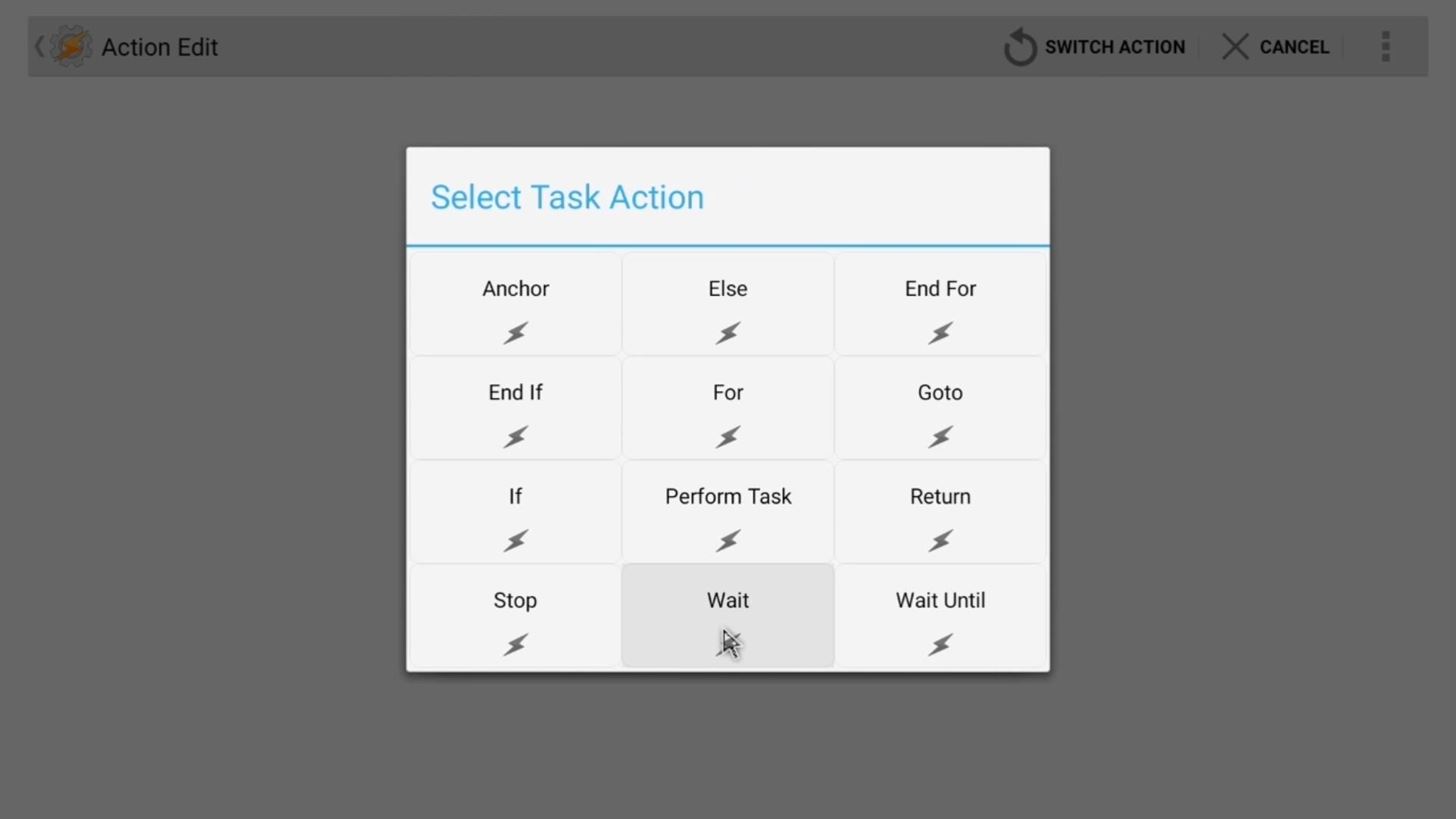
From here, click the + button at the bottom of the screen, then select "Task" and "Wait."
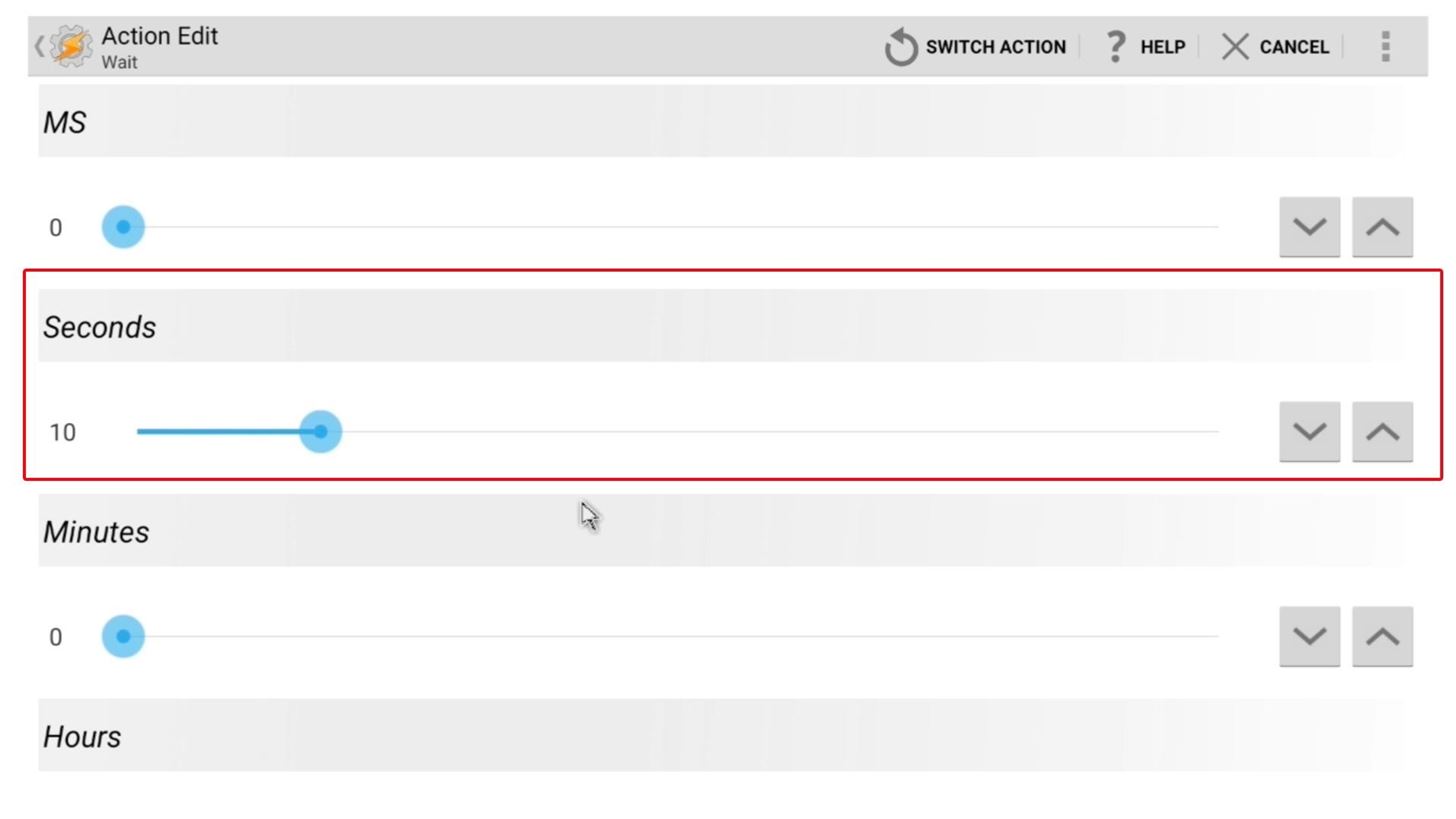
On the next screen, use the slider underneath the Seconds category to enter a value of 10. This will make your new profile wait for 10 seconds before it does anything, just in case you briefly went to the home screen and then opened an app again.
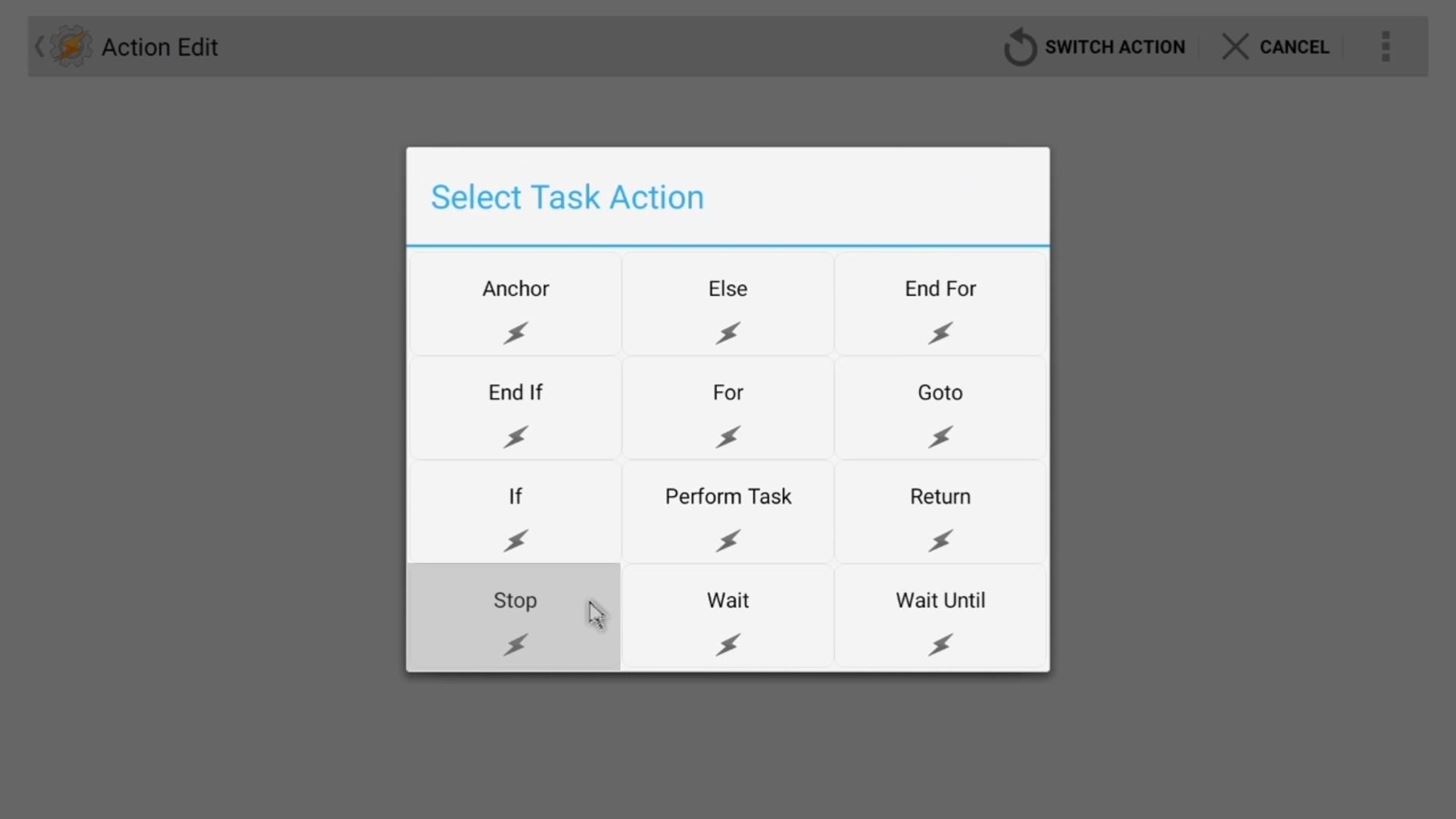
Next, click the back button once, then hit the + icon again. From here, select "Task," and then "Stop."
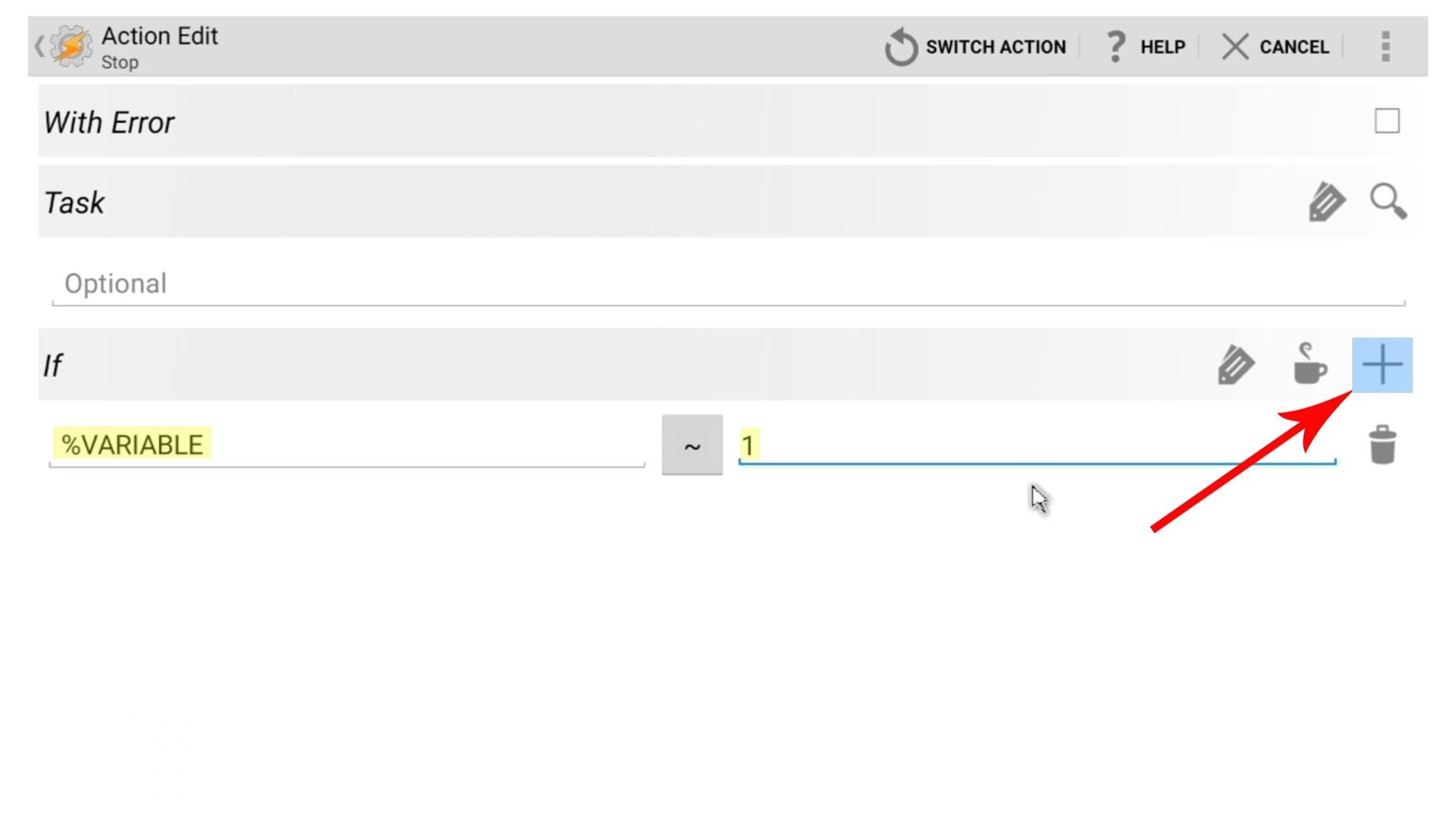
On the next menu, click the + button to the right of the If field, then enter your variable (VARIABLE) and give it a value of 1. This will make the task stop what it's doing if you've gone back to your home screen during those first 10 seconds.

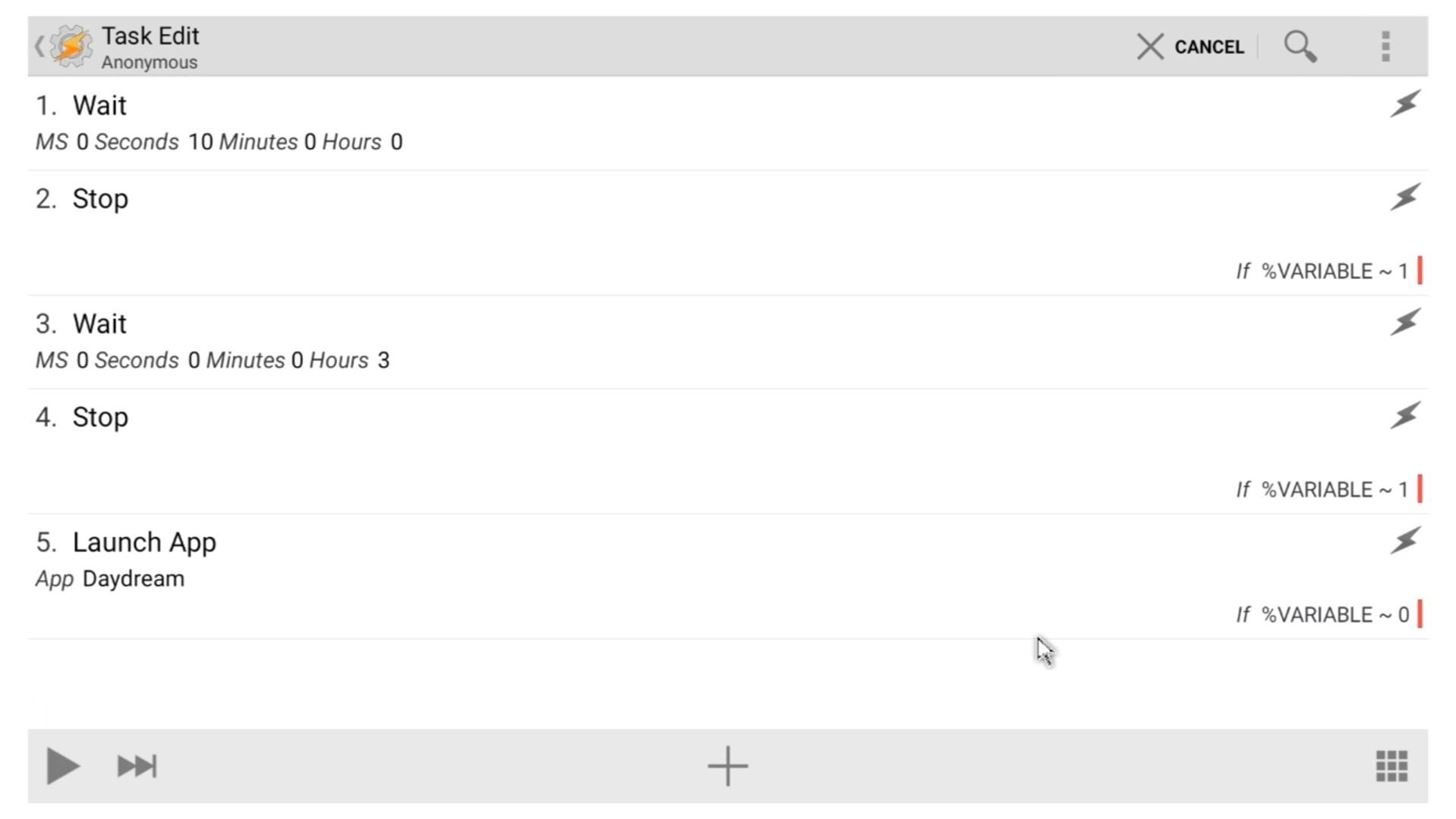
As an optional step, you may want to consider adding a few more similar "Wait" and "Stop" actions to this task with varying time intervals. It would serve as a bailout point for those times that you've popped in and out of apps, since your variable would reset to 1 each time you hit your home screen. Keep in mind, though, that you want the total time to add up to a number like 3 hours, or whatever timeout period you'd like for your screensaver.
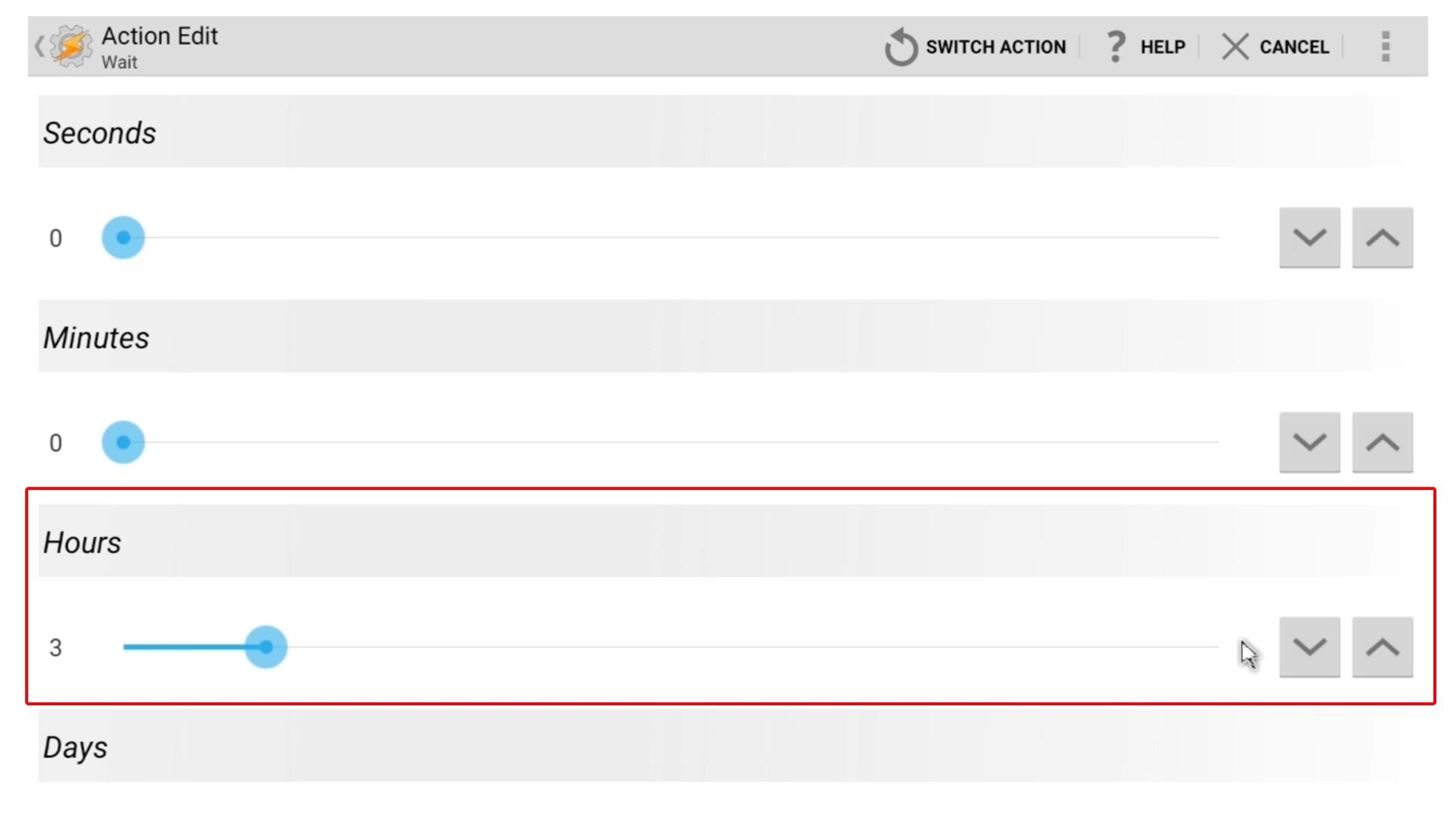
With that considered, it's time to wrap things up. Click the + button again, then go to "Task" and "Wait." From here, use the slider under the Hours category to set the timeout for your screensaver. I'm using 3 hours as an example, since most Netflix movies would be done by then.
Next, go ahead and click the back button once. At this point, your task is set up to wait 10 seconds, then check to see if you've gone back to your home screen, in which case it will stop what it's doing. If you haven't gone back to the home screen, it will wait another 3 hours.
To give it one last bailout point, click the + button, then select "Task" and "Stop" again. After that, click the + button to the right of the If field, then enter your variable (VARIABLE) and set the value to 1 again. This will prevent your screensaver from coming on automatically if you're still using your Nexus Player 3 hours later.
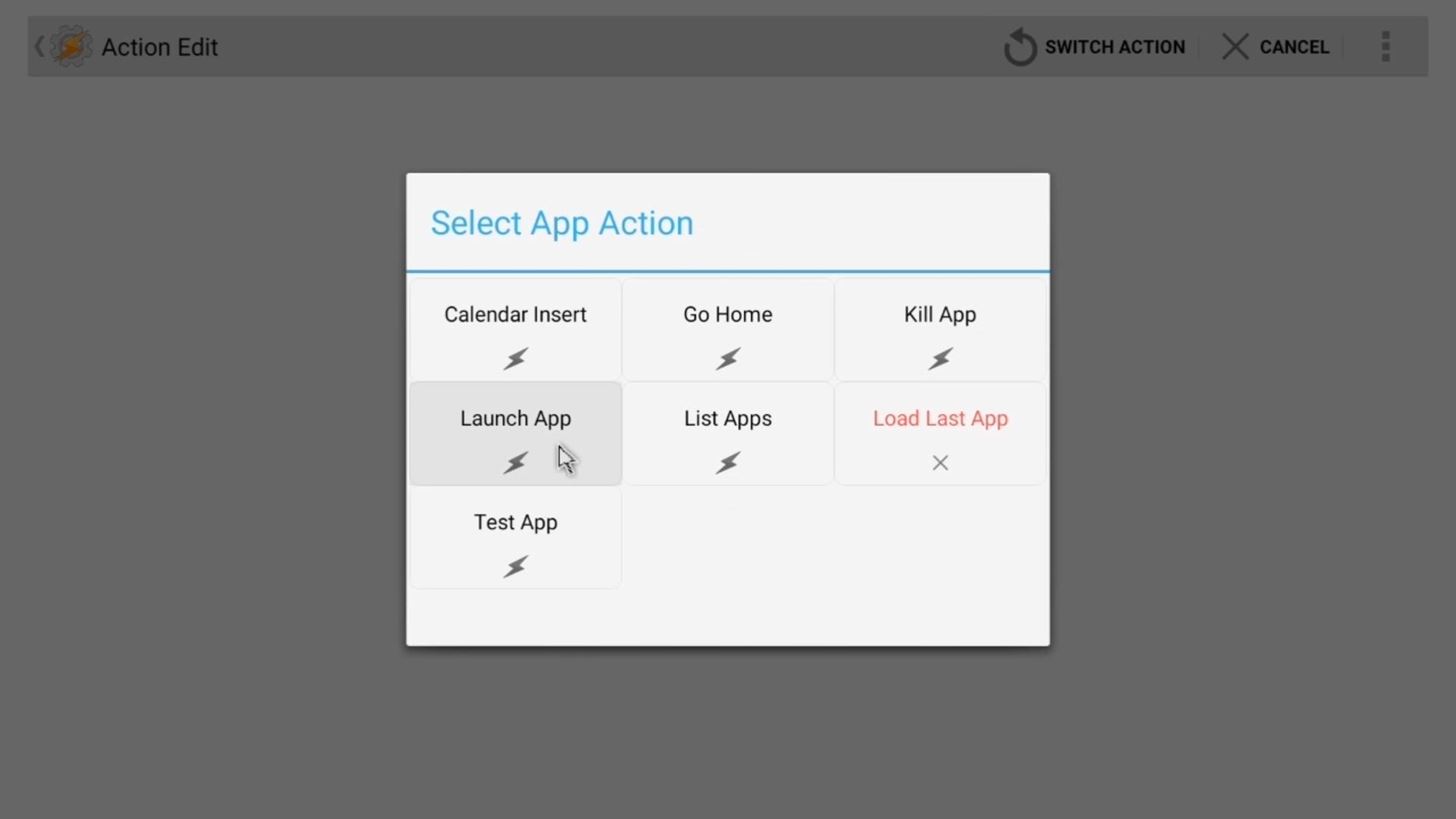
Finally, hit the back button once and click the + button at the bottom of the screen again. From here, choose "App," and then "Launch App."
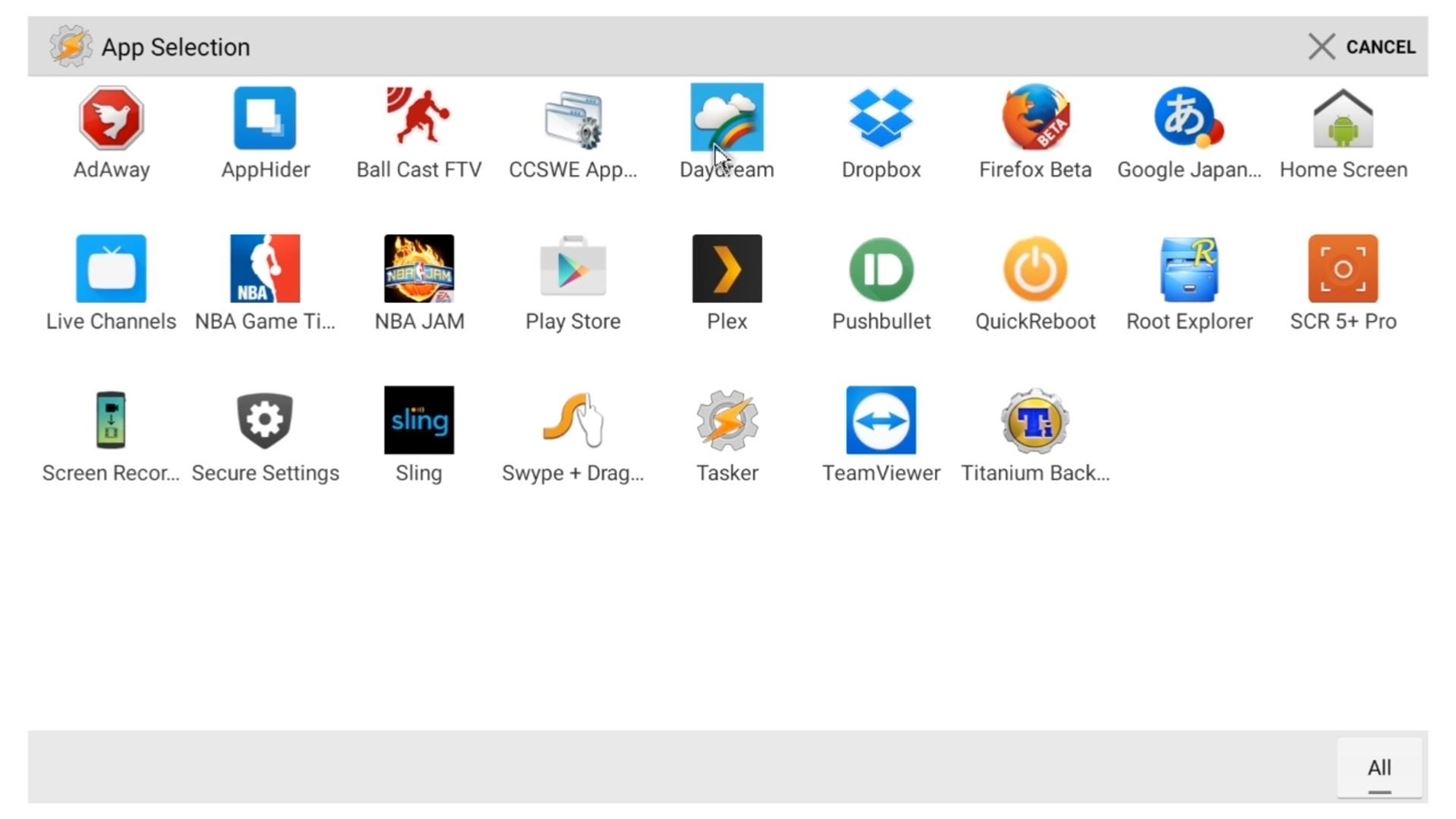
Next, select the "Daydream" app, which is the screensaver.
After that, hit the + button to the right of the If field, and type in your variable's name again. This time, though, set the value to 0.
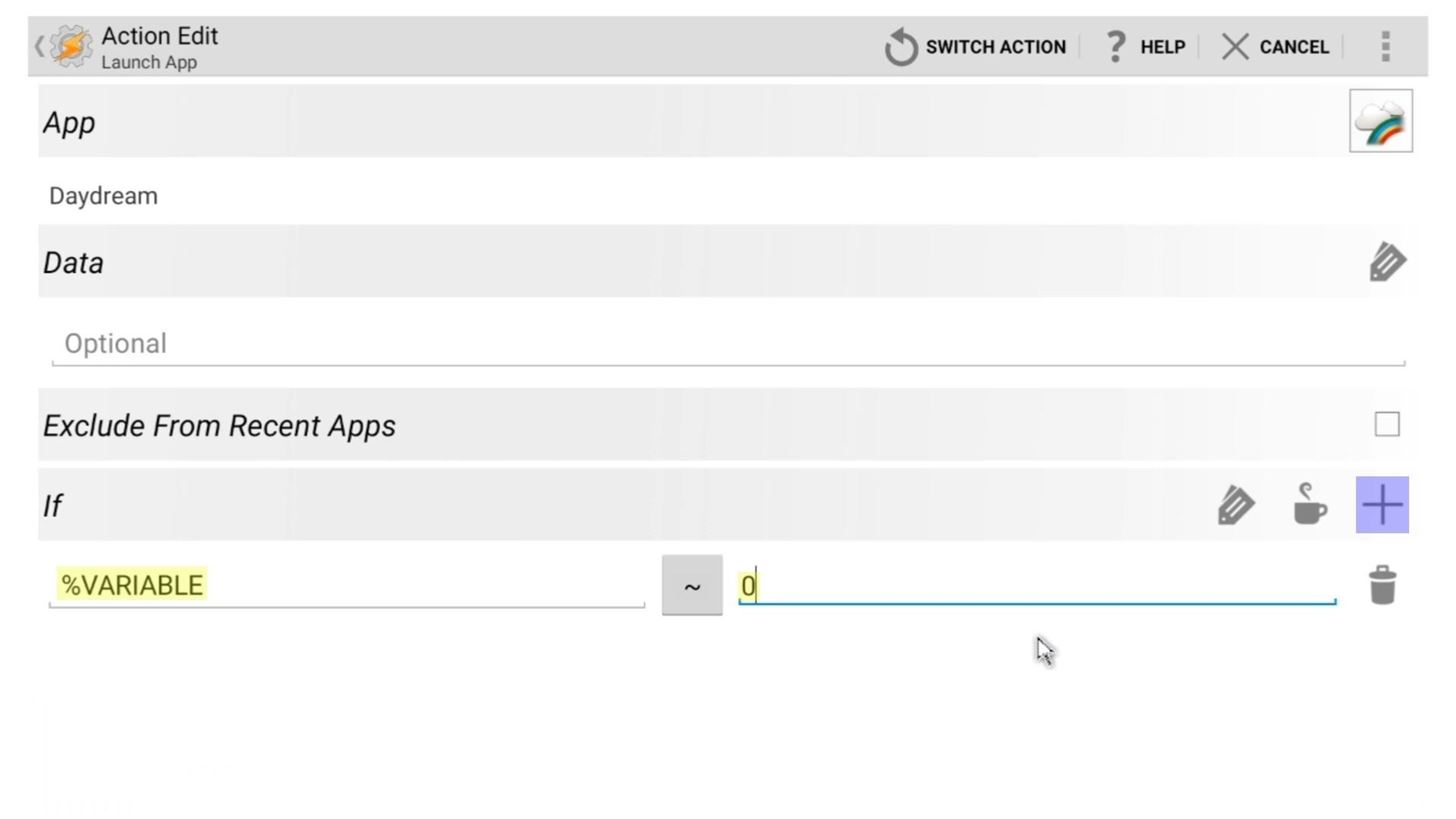
From here, click the back button once, and your task should look like this:
Click the back button again to review both of your profiles. They should look a lot like this:
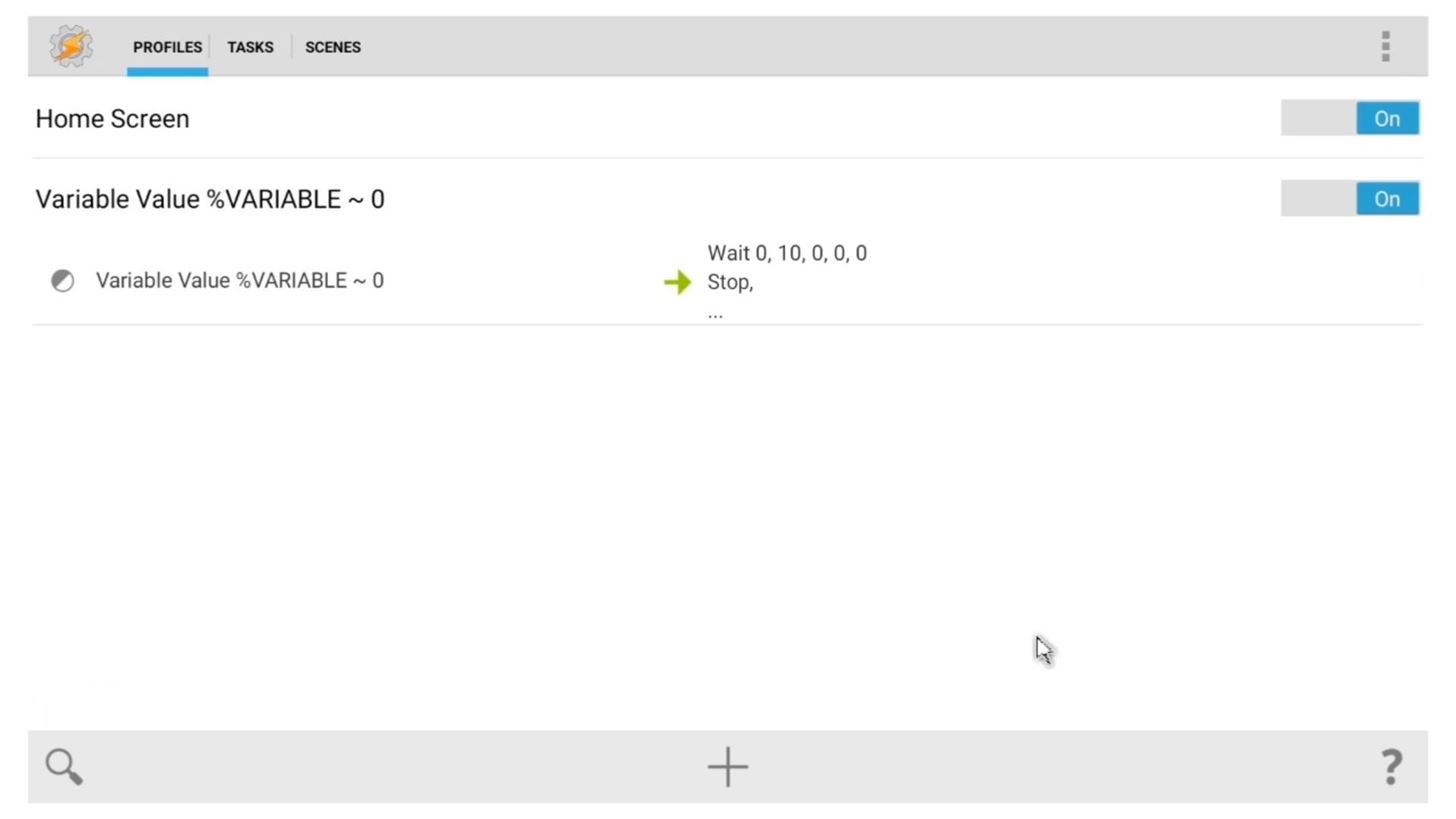
After that, just back all the way out of Tasker, and your new screensaver profiles will become active. When you're on your home screen, your variable value will be set to 1, which will then trigger your screensaver profile. The screensaver profile will check back to make sure you didn't just leave an app temporarily, and if you didn't, the screensaver will come on 3 hours later—regardless of what app you're in.
As complicated as this may have seemed on the surface, this is just a basic profile that makes sure your screensaver comes on even if you're running Netflix. You can make some tweaks here and there to have it suit your needs a little better, and if you do, we'd love to hear about them in the comment section below. Or, if you'd rather use social media for that, you can hit us up on Facebook, Google+, or Twitter.
Just updated your iPhone? You'll find new emoji, enhanced security, podcast transcripts, Apple Cash virtual numbers, and other useful features. There are even new additions hidden within Safari. Find out what's new and changed on your iPhone with the iOS 17.4 update.


Be the First to Comment
Share Your Thoughts